Nerd Clump write valuable tech related posts for nerds and nerd clump wrote a article on What is Cryptocurrency
How to Take Scrolling Screenshots on Mac (macOS Big Sur)
How to Take Scrolling Screenshots on Mac (macOS Big Sur)
A few days back, I needed to send a screenshot of my chats to someone. But since the chat was long, I was forced to take multiple screenshots. This is something I detest, as I don’t want people to get confused. It has happened to me several times. When people share multiple screenshots of their chats, it’s hard to figure out the right order of the screenshots. All this meant was that I was looking for a tool that lets me take a scrolling screenshot on macOS. After trying several third-party apps, I think I have discovered the right one. So, here is how you can take a scrolling screenshot on Mac.
Take Scrolling Screenshot on macOS
When it comes to taking scrolling screenshots, there are two main uses. Sometimes, you just require to take a quick screenshot of an article or a webpage as the print function of the browser messes up the formatting and design.
The second use-case, which I found myself in, was to take screenshots inside an app. I needed to do it for the Messages app on macOS. And the browser screenshot tools generally don’t work with other apps. So, that’s why I have divided this article into two sections. You can click on the table of content below to switch to the part you want to read.
Capture Screenshot of an Entire Webpage on Mac
Several apps let you capture screenshots of entire webpages on Mac. You can use a third-party tool that will work on any browser, or you can use browser-specific tools. In this article, I will show you a native way to capture a screenshot on the Safari browser (get our list of best Safari Extensions), and then mention a third-party tool that will work anywhere.
Capture Screenshot of an Entire Webpage on Safari
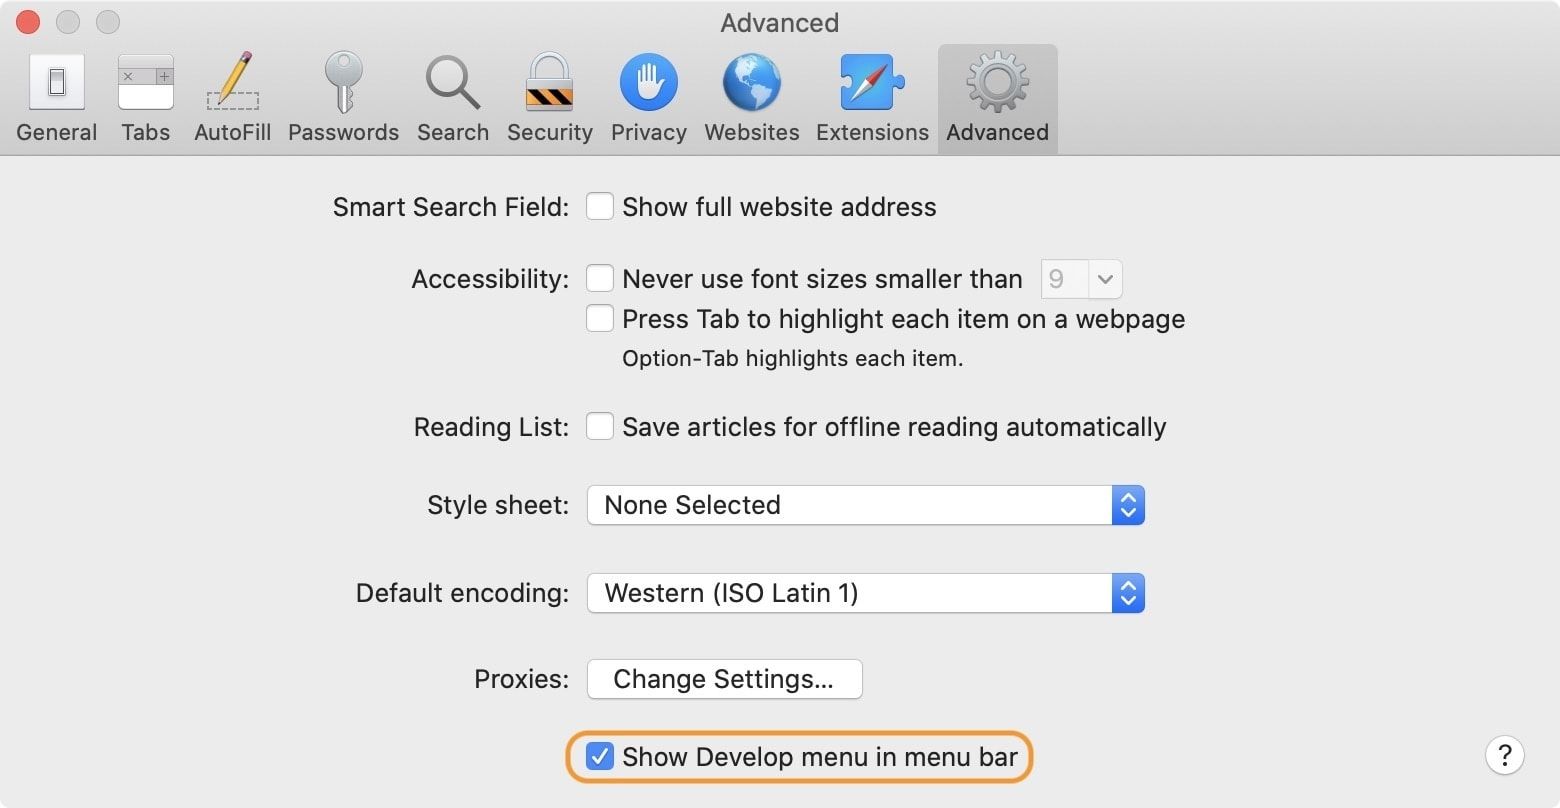
1. Launch Safari and go to Safari Preferences → Advanced and enable the toggle next to “Show Develop menu in menu bar”.
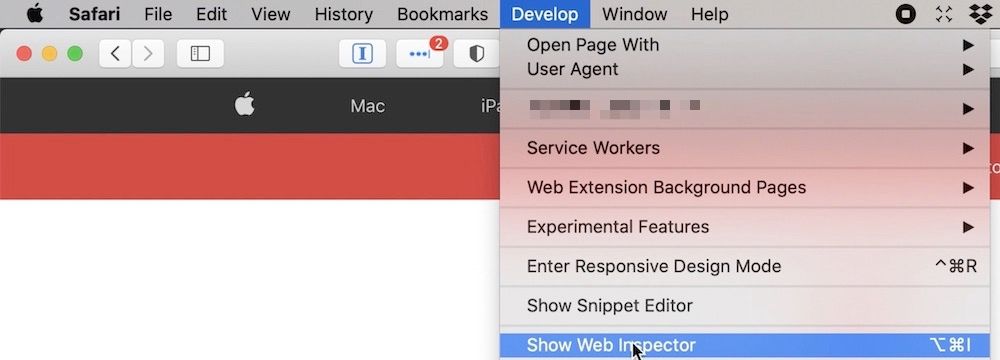
2. Now, open the webpage you want to capture, and in the menu bar, go to Develop → Show Web Inspector (or use the keyboard shortcut (⌘⌥I).
3. Here, right-click (control+clic) on the HTML tag marked in the picture below and click on the “Capture Screenshot” option.
4. Wait for a few seconds as depending on the length and content of the webpage, it might take a little time. You will see an option to save the screenshot. Click on “Save” to save it.
You have now taken the screenshot of an entire webpage without using any third-party tool. But what if you don’t use Safari. Well, in that case, our next tool is just for you.
Capture Screenshot of Webpage Using a Third-Party Tool
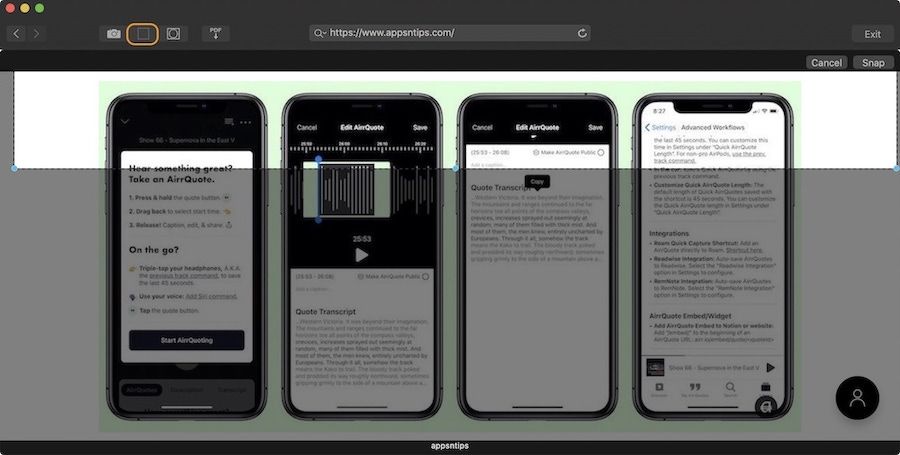
I tested several apps for this and found two apps that worked well for me. If you are looking for a free app that can let you capture webpages, look no further than BrowseShot. It’s an excellent tool that allows you to capture websites no matter which browser you are using.
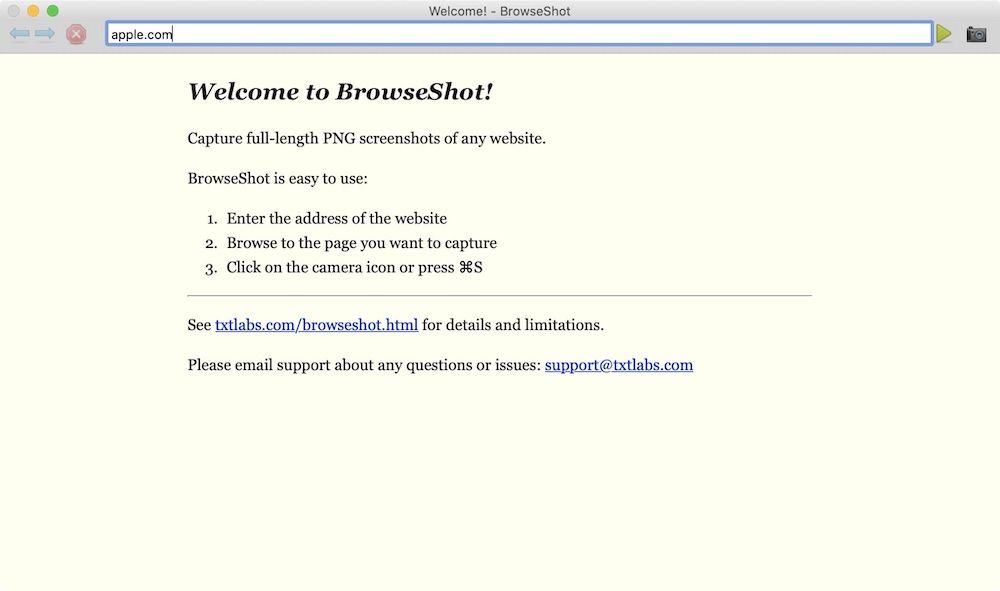
To capture a screenshot using BrowseShot, launch the app and enter the URL of the website you want to capture. Now, hit enter.
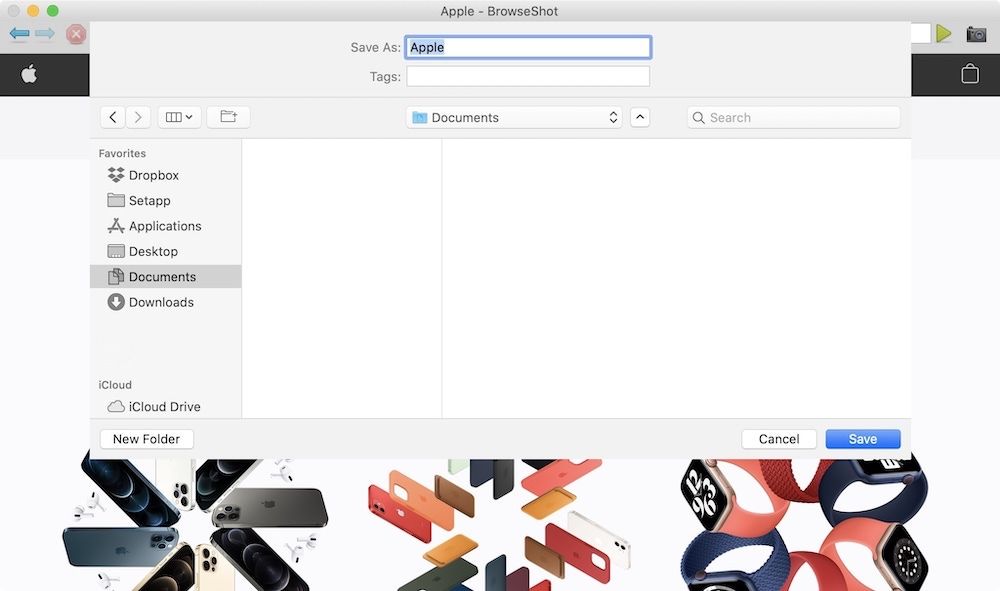
Once the website is loaded, use the keyboard shortcut ⌘S or click on the camera icon to save the screenshot.
It will open the Save dialogue. Click on the Save button to save the screenshot.
The second app that I found is “Capto”. In all the ways, Capto is a superior app because it’s not only a screenshot tool but a fully-featured screen recorder app that lets you both record your screen and edit it. In a way, Capto is overkill for taking a screenshot. But I loved this app so much that I had to share it with you guys.
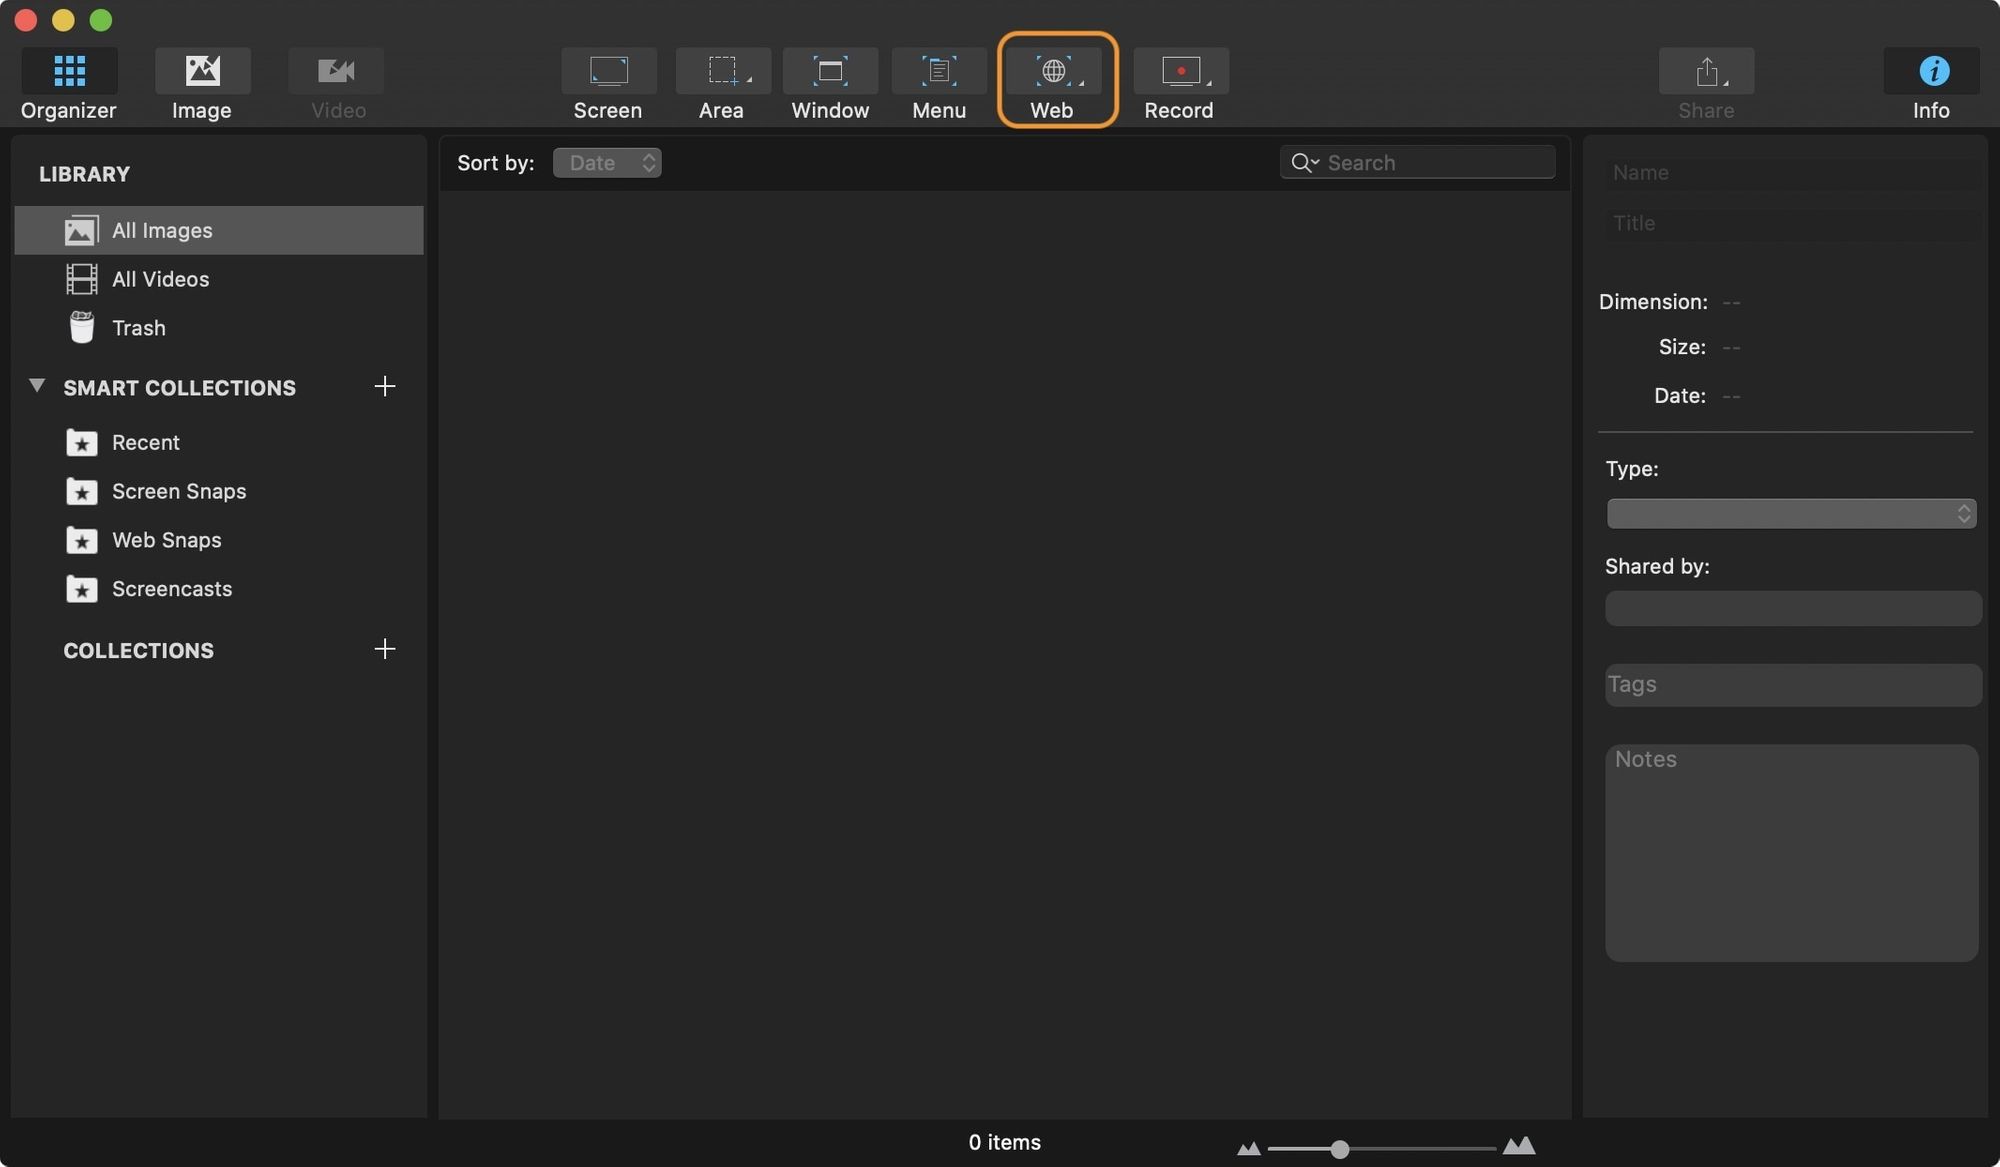
Using Capto is very easy. Launch the app, and click on the “Web” icon at the top.
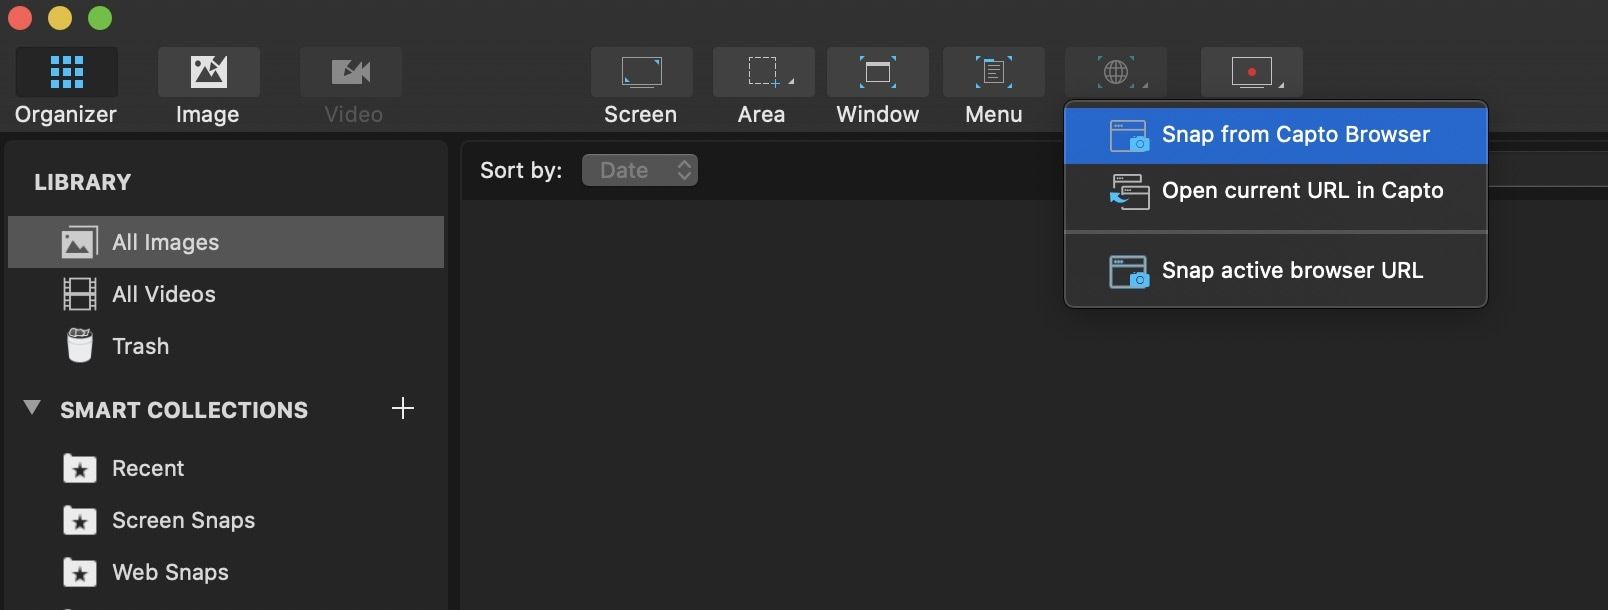
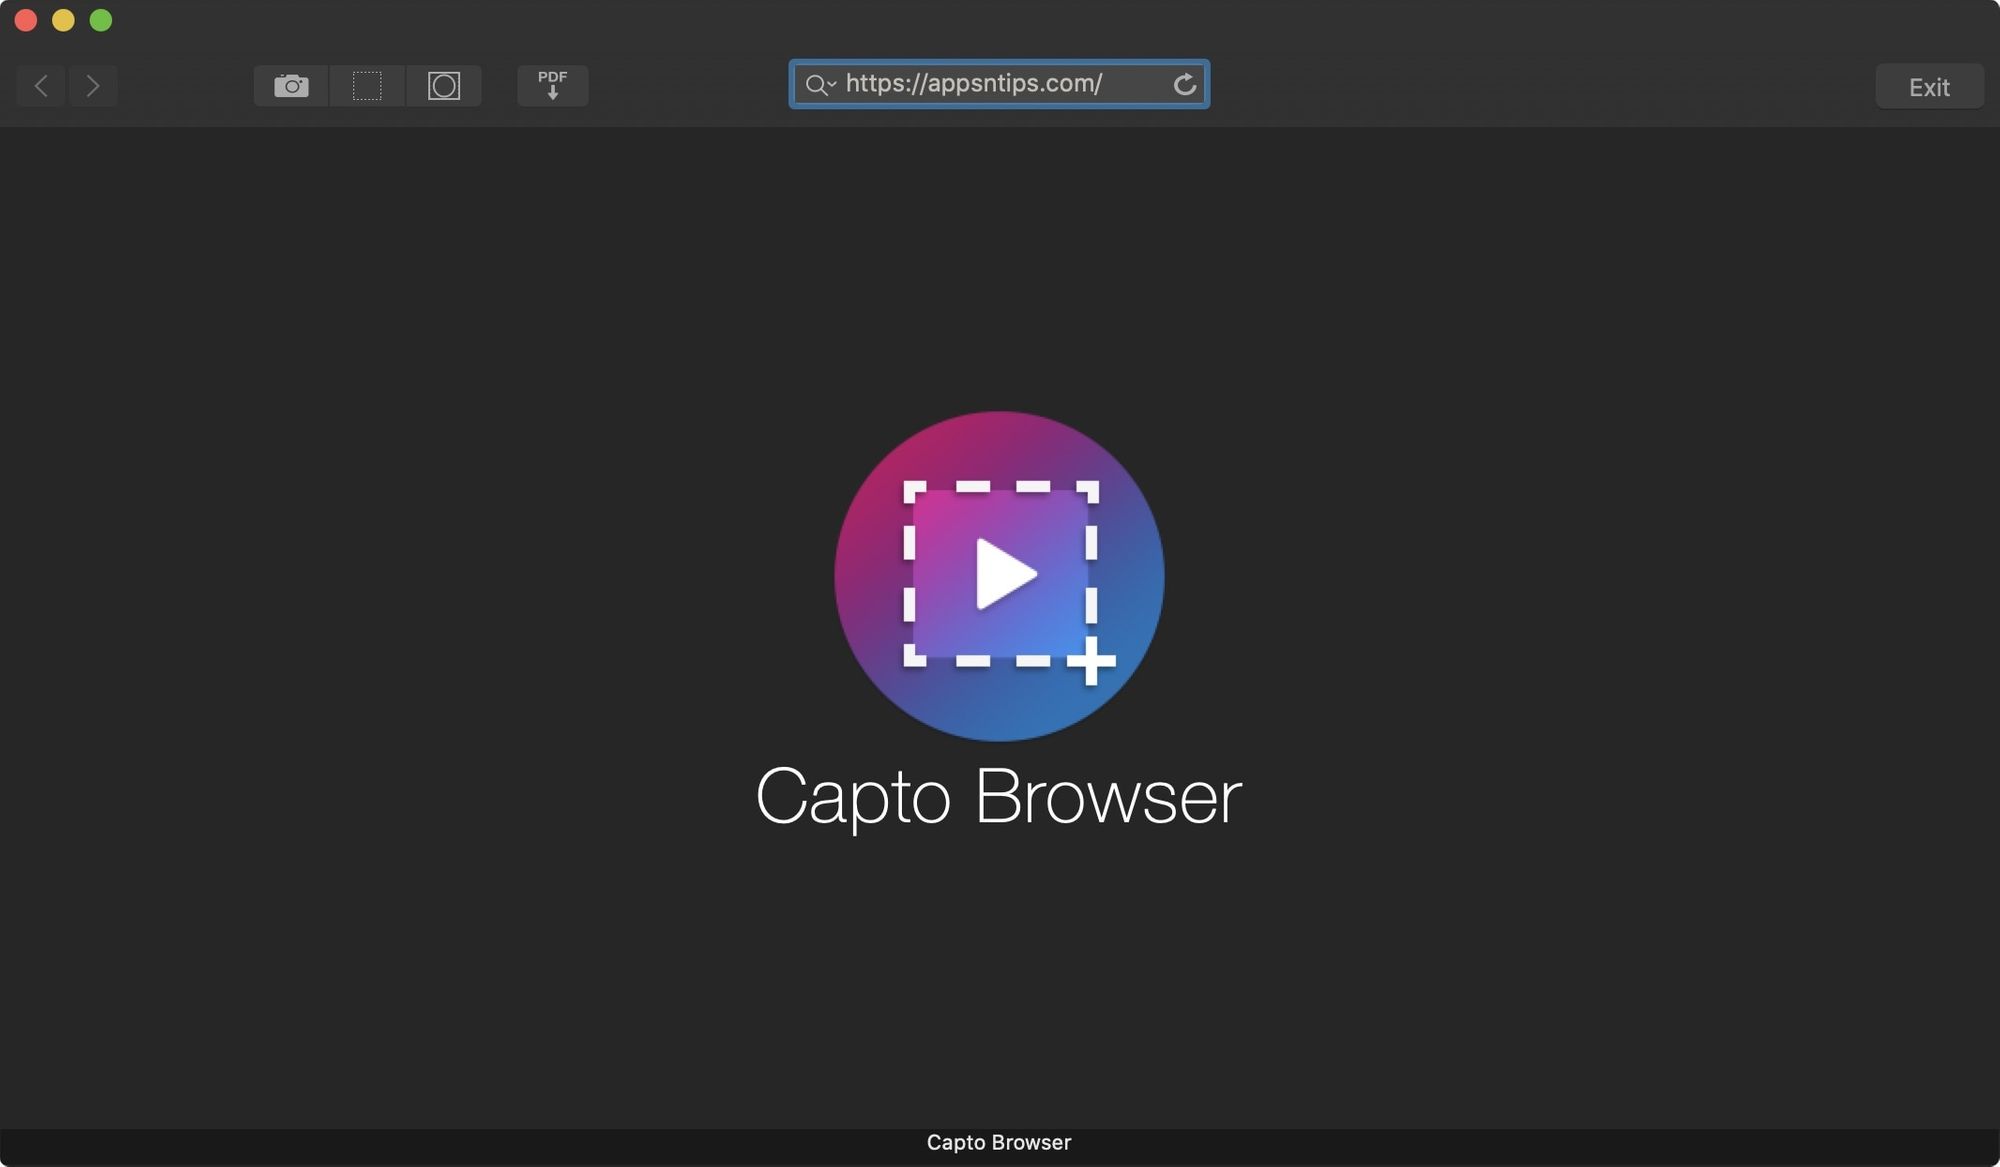
Here, you will get three options. If the link is already open in a browser, you can select the last two options. I will use the first option which will let me enter the URL in the app itself.
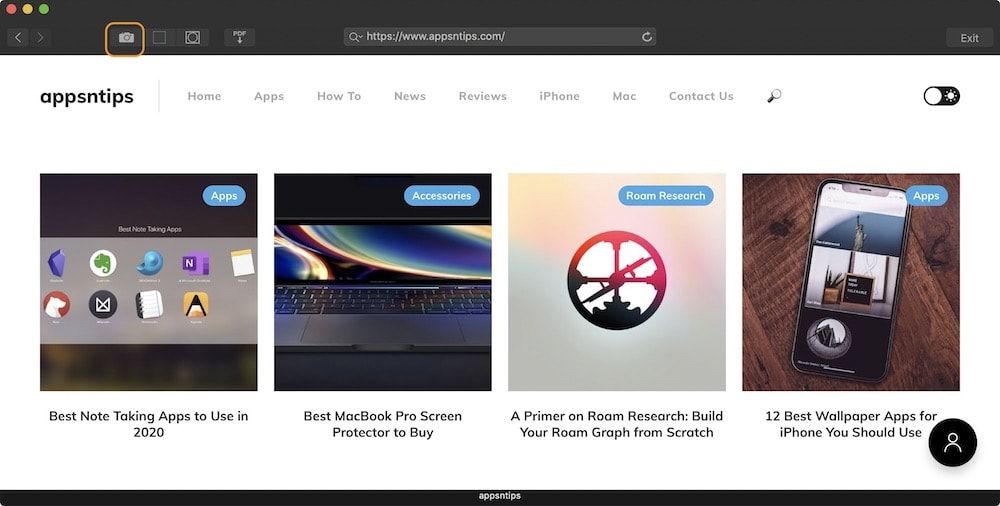
After you have opened the URL in the browser, you can use the Camera icon to capture a screenshot of the entire app.
If you don’t want to capture the entire webpage, click on the icon next to the Camera icon, and it will let you select a part of the webpage. You can scroll and select as much as you want.
While the above methods work on web browsers, they don’t work inside an app. So, if you want to capture a screenshot of your conversation in an app like Messages, you will need a different solution. And after testing many apps, I think the app that works with all the apps without a hiccup is CleanShot X.
CleanShot X is a one-stop solution for all your screen-capturing needs. Apart from letting you capture screenshots, the tool also allows you to annotate them, upload them to a cloud and share the link, record screen, create GIFs, and more. But, in this tutorial, we are going to focus on taking scrolling screenshots.
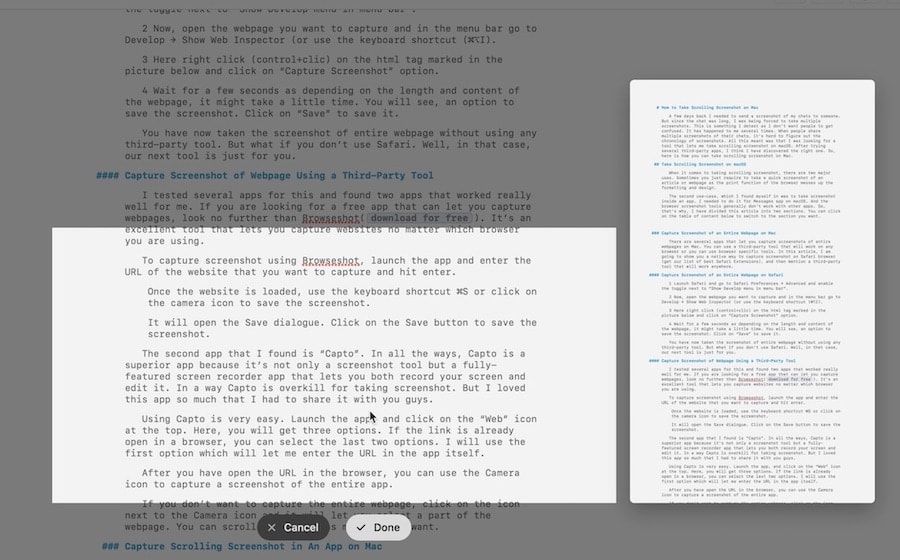
To take a scrolling screenshot, click on the app’s Menu Bar icon and select Scrolling Capture.
Now, make a selection and start scrolling slowly to capture the screenshot.
Taking scrolling screenshot using CleanShotX
No other app makes it easier to capture scrolling screenshots on Mac than CleanShot X. Yes, it’s a bit costly at $29, but it’s worth every penny. Also, if you are a SetApp user, you can use it for free.
In this guide you will learning how you can watch NBA online without cable nowadays everyone love to Watch NBA Match and some of them don't have cable and they wanted to watch NBA online here's how you can do it As the 2020-2021 NBA season gets underway, fans might be wondering how they can watch all the basketball games. Do you need a costly cable or satellite TV package to catch all the action? Or is there a cheaper way to watch NBA games without cable? Thankfully, it’s very easy to stream NBA games online without cable or satellite TV. Thanks to numerous streaming services that have come out in recent years, you can easily watch NBA online free or cheap without cable. Streaming services are much more affordable than the average cable package, have no contracts, and have no hidden fees. Just like with Netflix, you can cancel these services any time you want without penalty. Read on to find out how to watch NBA games online free or cheap(How to watch NBA game online w...
How to Take Notes on Podcasts without Breaking the Flow If you have been following this website for some time, you know that I listen to a ton of podcasts. I love podcasts because not only they fill up mundane time with interesting stories, but they also allow me to learn things. However, there’s one problem that I encountered when listening to podcasts. I listen to podcasts when I am doing some chore like washing my dishes or traveling to my office. And those are the times when it is impossible to take notes on what you are listening to. If you are also struggling with the same problems, here is how to take notes on podcasts without breaking the flow. Take Notes on Podcasts without Breaking the Flow A few years back, I published a list of my favorite podcasting apps . The list featured my favorite podcast players and include apps like the native Apple Podcasts app , Castro , Pocket Casts , Overcast, and more. And while all those apps are still great when it come...
In this Guide, you will be learning how you can install ram on Pc or how to install Ram in Laptop and if this guide helped then please comment below, and here is your guide on How to install Ram in 2021 How to Install Ram in (PC) 1. Check What type of ram your pc Requires Find out what type of RAM is required for your desktop computer. RAM comes in a variety of models and speeds. The type of RAM you can get is dependent on your computer’s motherboard. You’ll need at least two modules to enable a dual-channel mode on platforms such as AMD’s Socket AM4 or Intel’s LGA 1151, or four to enable the quad-channel modes of AMD’s socket TR4 and Intel’s LGA 2066. Check your motherboard or computer’s documentation, or check the manufacturer’s website for the RAM specifications that are compatible with your hardware. RAM is available as DDR (double data rate), DDR2, DDR3, and DDR4. Most newer computers use DDR4. Get the type that matches what your motherboard supports, RAM is ...


Comments
Post a Comment